
This DIY describes how to remove and install the battery on a 2007 CBF1000A Honda motorcycle and is applicable for 2006 to 2009 models.
This is a very easy DIY task. A first timer may spend 1 hour doing it, an experienced arround 15 minutes.
Tools and consumables needed:
1.0 Make sure ignition is turned off before removing or installing the battery.
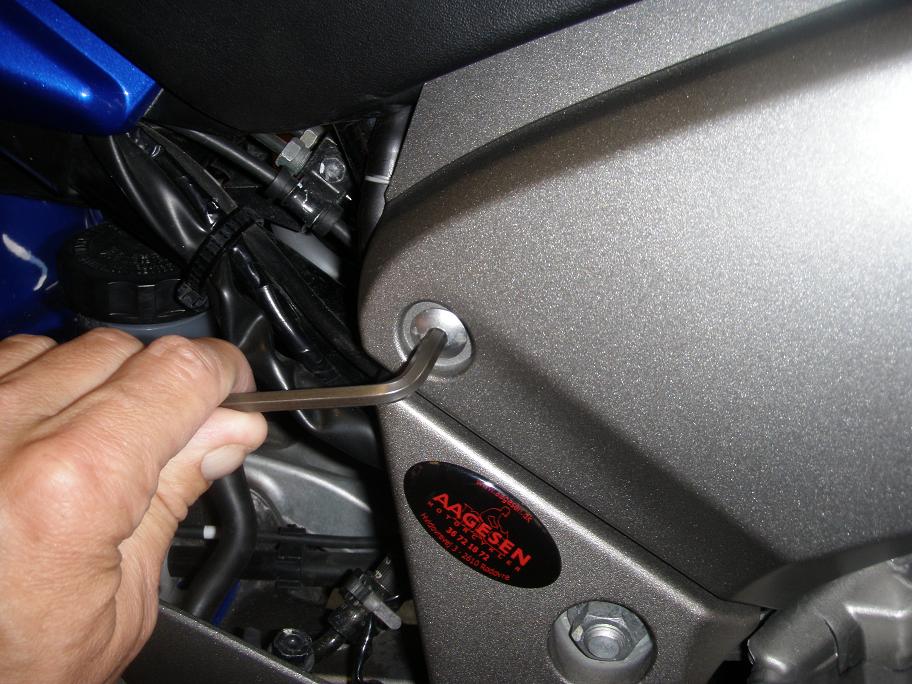
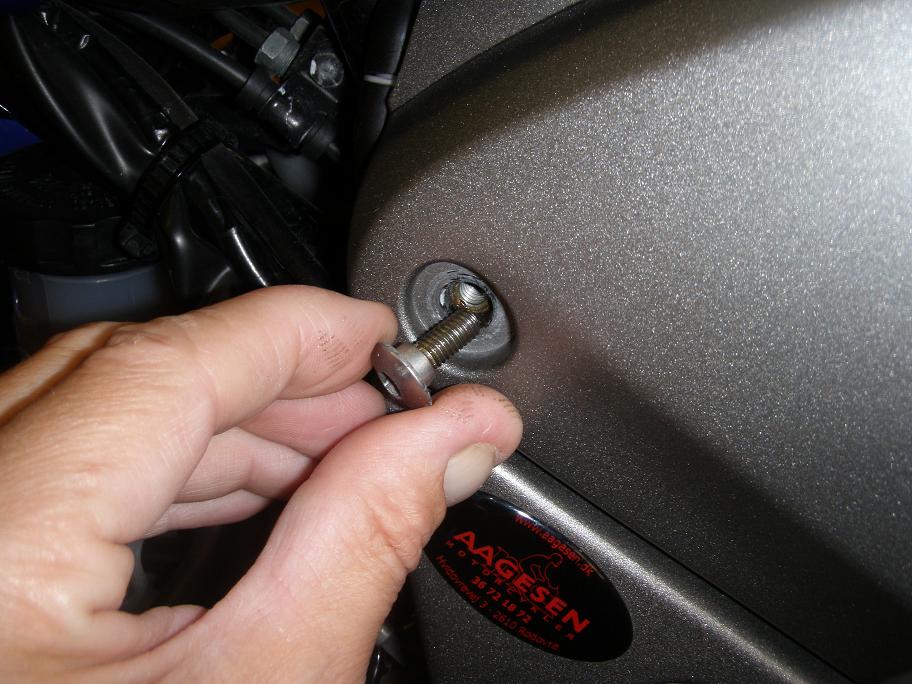
2.0 Remove the bolt holding the right side cover. Turn the rear end of the side cover
a little down to get it free of the front seat and then - by pulling gently outwards in the
front end - release the boss from the fuel tank grommet.
Tip: Whenever possible, leave bolts, nuts and screws in their original positions while you continue work. Then you have them in the right place for reassembly.
Important: In the following step be sure not to make any short circuit between the positive terminal on the battery and any metal parts on the bike, as this may damage the battery and other parts of the electrical system. When you come to reassembly, be sure to connect the terminals correctly as a wrong polarisation will definately make damage. I guess it is more less impossible to actually make it wrong due to the length of the wires, but at least I have now spelled it out for you ;-)
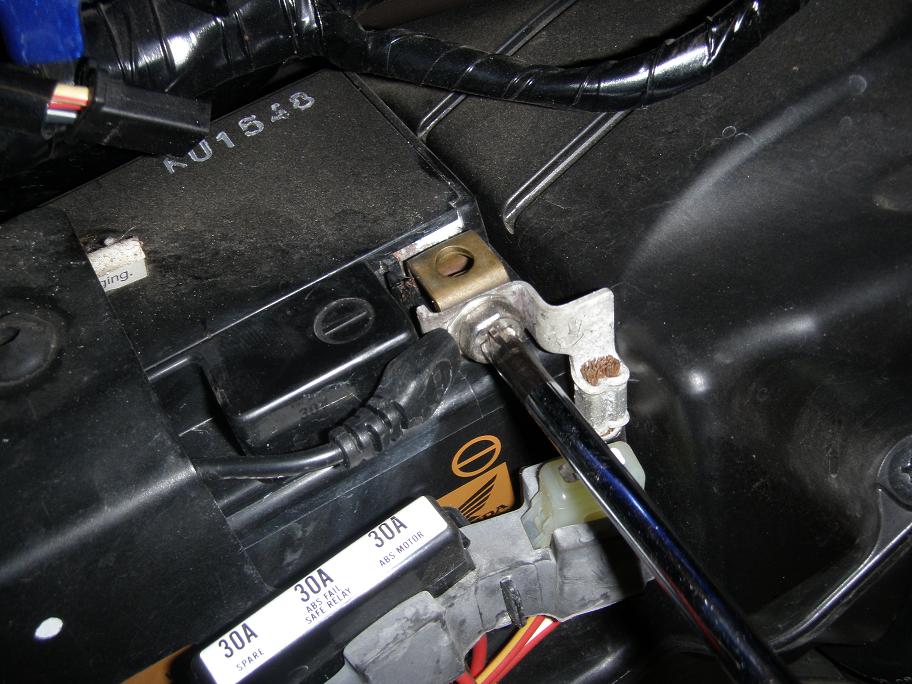
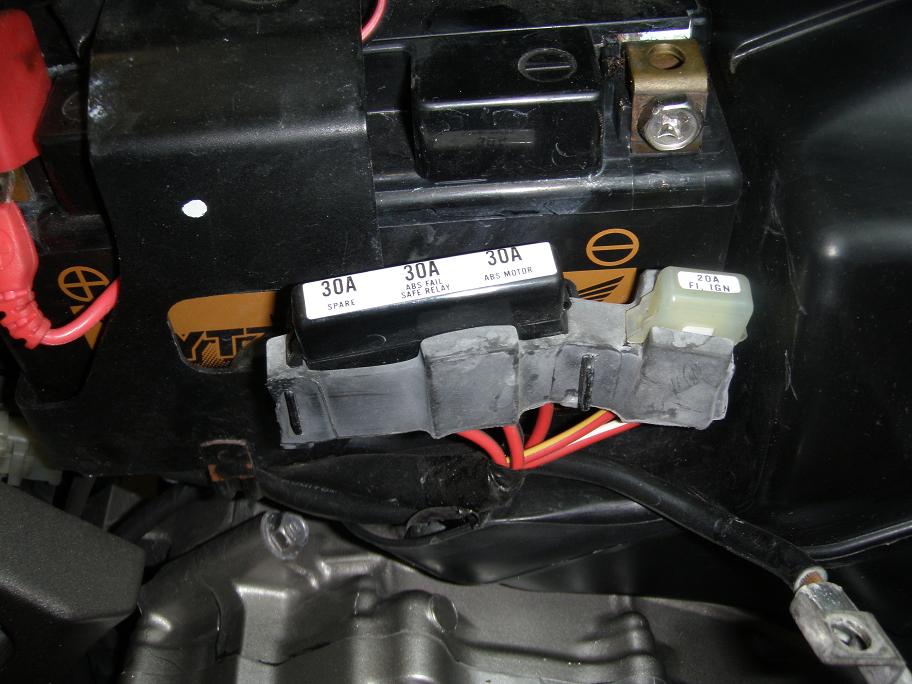
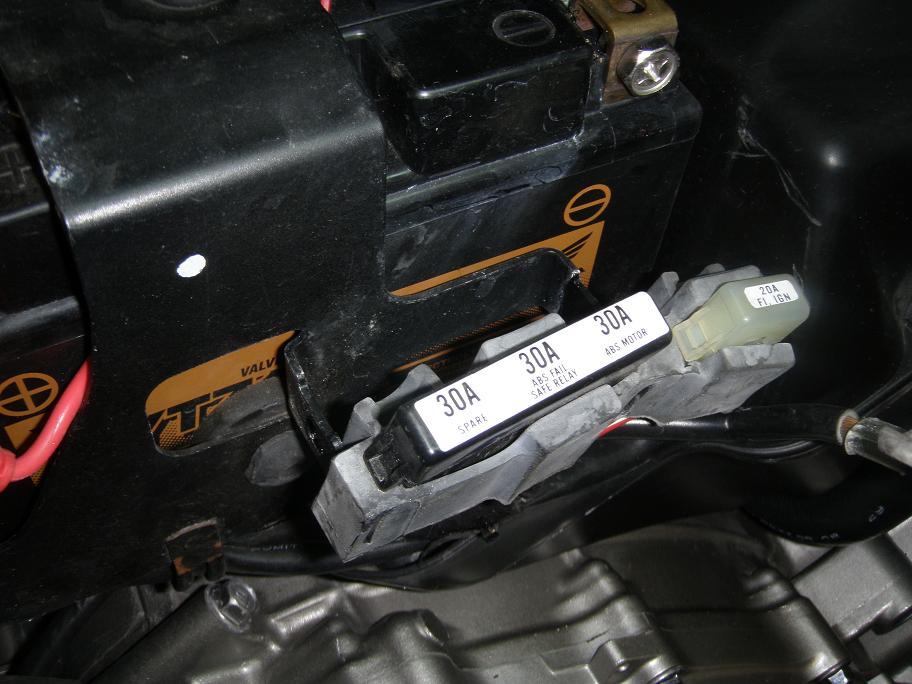
3.0 Disconnect the ground wire from the negative battery terminal and pull the wire away
from the terminal, so there is no risc of getting this connection re-established. Pull the
ABS/FI (Anti-lock Brake System/Fuel Injection) fuse box (which is made of rubber) off the
metal tab which is holding it, and bend it a little downwards out of the way.
Disconnect the red wire from the positive battery terminal.
Remark: It is a good habit to always disconnect the ground (negative) wire first, and on reassembly, to always connect the ground wire last. From an electrical point of view the sequence has no relevance. Positive of negative first, to the electrical equipment it is all the same. From a mechanical and practical point of view, there is a different risk of making unwanted short circuit. Especially on cars, where we usually use an open ended - or ring spanner, there is a high risk of shorting the live (positive) wire to ground. On the CBF using a PZ screw driver with isolated handles, the risk is probably much less though, but good habits are important.
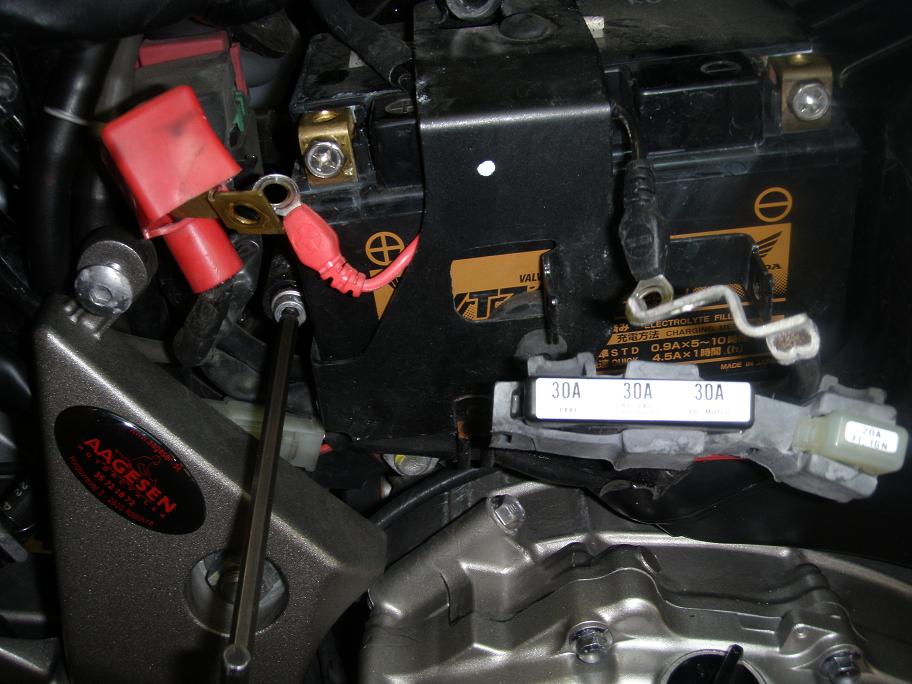
Remark: My bike has a small modification that can be seen on the above pictures. It is an
extra black wire to the negative terminal and an extra red wire going to the positive terminal.
They lead to a connector under the rear seat, where I can connect e.g. a battery charger.
One more thing which is slightly irregular is in the left picture above. That is the black
fuel pump connector in the upper left corner, which had been disconnected for other reason.
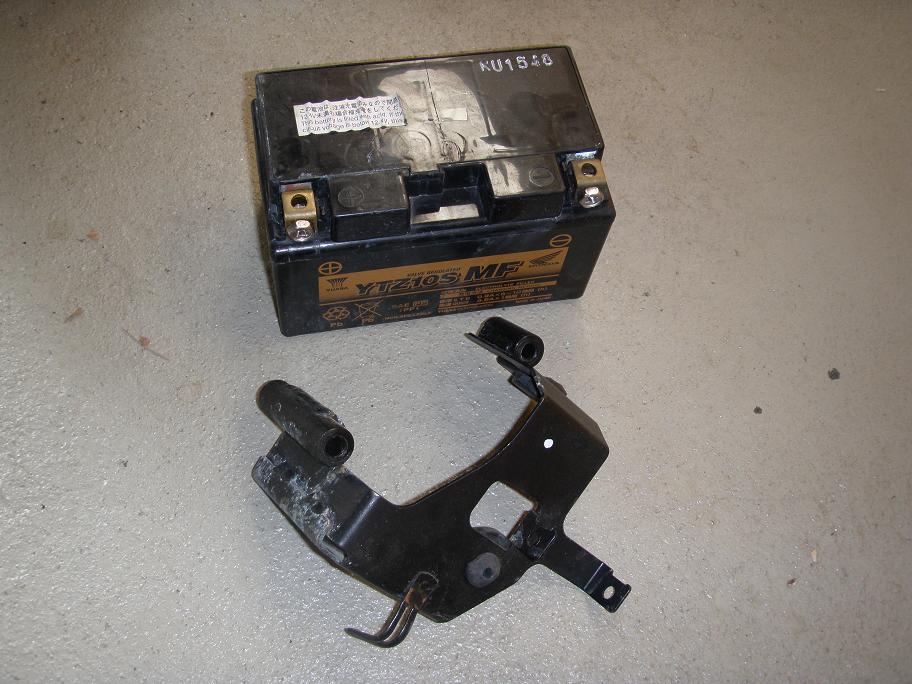
4.0 Remove the two bolts holding the battery bracket. Pull the bracket out and subsequently
(or at the same time) also remove the battery.
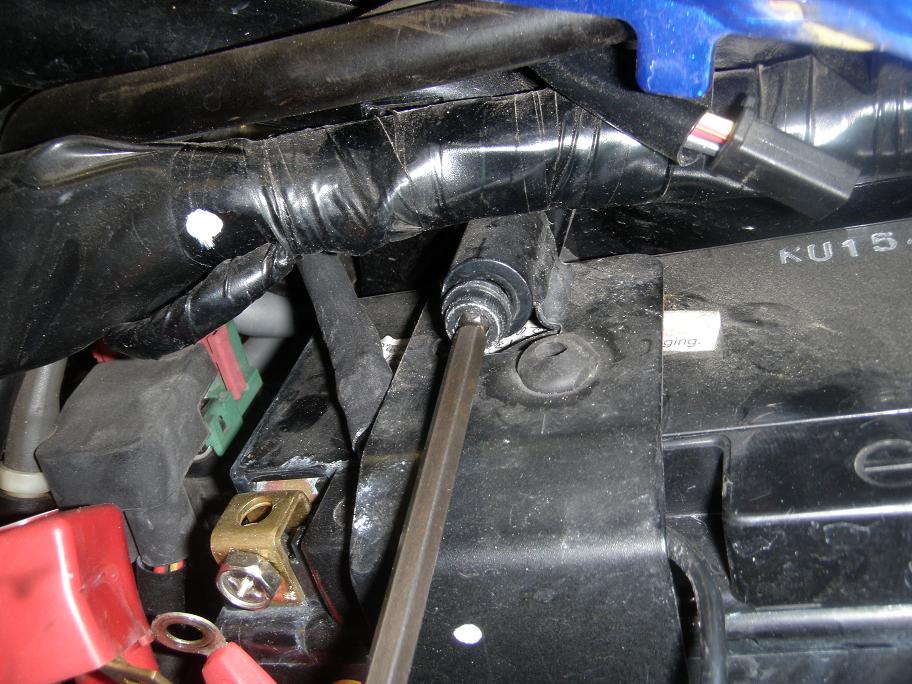
Remark: Did you notice the commercial, which sneaked into the above pictures. That was not intentional. The little sign was put there by my dealer and has been on the bike since brand new. I have bougt 3 bikes there and has always been given good professional treatment and advice, both from their shop and from their mechanics. So I think they've earned it :-)
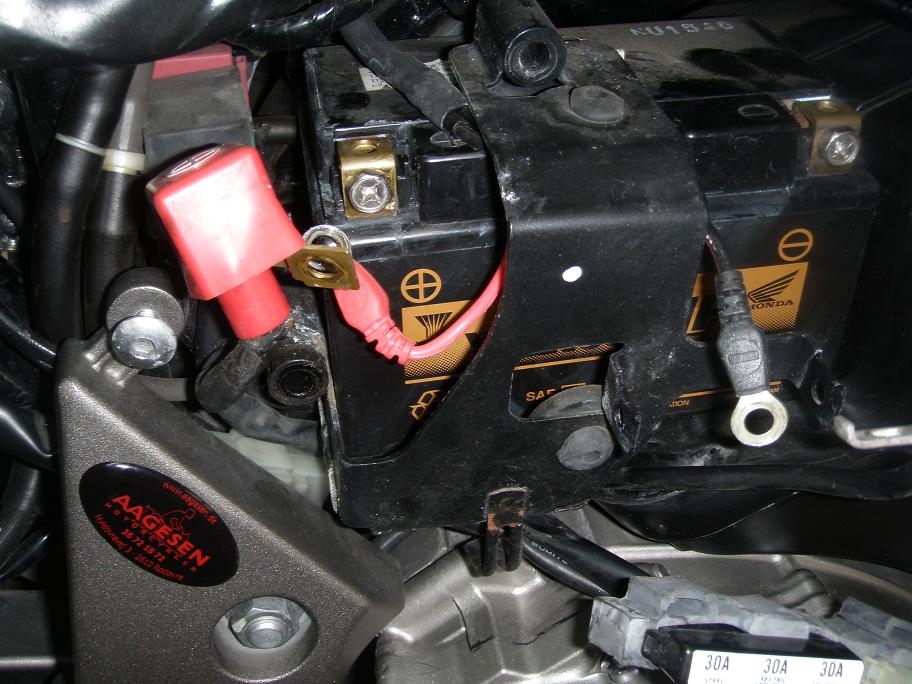
5.0 Inspect the surfaces on the battery terminals and on the wire poles. If there are any
signs of corrosion, it is important that you clean them with e.g. very fine grained
sand paper, to ensure good electrical contact when they are remounted. You may also smear the
terminals with some copper grease to prevent corrosion.
6.0 Installation is simply to reverse the removal procedure.
Tip: Remember to smear the threads on bolts and screws with copper grease before you remount them. Then you will have an easy task, next time you have to disassemble.
Finished.
� Copyright 2009 FireBladerDk - Last updated 2022-02-12