
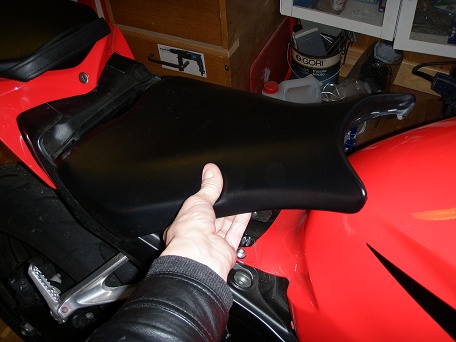
This DIY article describes how to remove and install the seat and the side covers on a 2008 CBR1000RR Honda Fireblade motorcycle and is to the best of my knowledge also applicable for 2009 and 2010 models.
Removing the seat is typically done to get access to the battery, the fusebox and the tank mounting bolts.
This is a very easy DIY task. A first timer may spend 5 to 10 minutes doing it, an experienced less than two minutes (not including the time needed to find the proper tools).
Tools needed:
1) Remove the side cover on both sides.
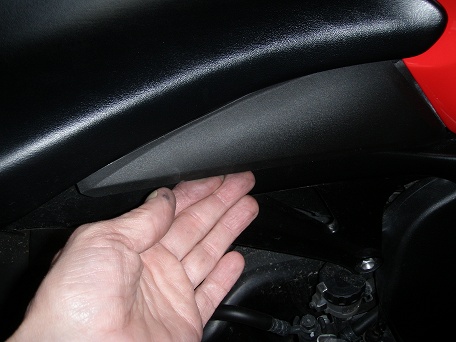
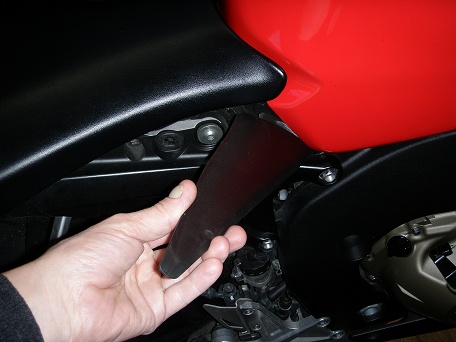
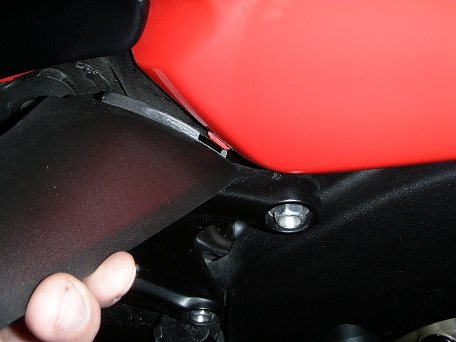
Pull the lower edge and rear end of the side cover (upper left image) outwards to
release the plastic boss from the rubber grommet in the frame (upper middle image).
Turn the rear end of the cover further outwards and forwards untill you can disengage
the front end from the plastic tap on the tank cover (upper right image).
2) Unscrew and remove the special screws which were hiddedn behind the side covers.
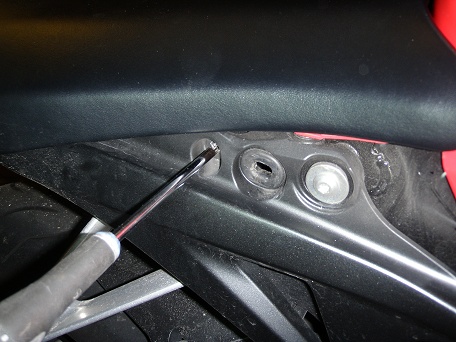
4) Pull the front of the seat forwards upwards.

5) Below the seat you will find the battery, the fuse box and other good stuf.
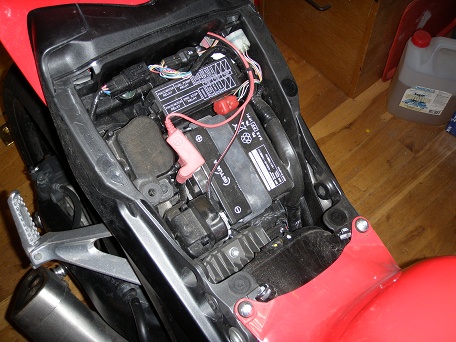
1) Installation is simply the removal procedure in reverse order.
Tighten the special screws to a torque of 4.3 Nm (0.4 kgftm, 3.2 lbfft).
Finished.
You are invited to participate with review, questions and discussion via this thread (not yet made) on www.fireblades.org or this thread (not yet made) on www.1000rr.net.
See also:
How to DIY (warnings, tips, tools,
methods, ... etc.)
First Year
with my Fireblade
© Copyright 2010 FireBladerDk - 2010-10-20