Radiator - Removal/Istallation - CBR 1000RR8 DIY
This Do It Yourself (DIY) article describes how to remove and reinstall the
radiator on a 2008 CBR1000RR Honda Fireblade motorcycle. This is normall done
as part of the valve clearance inspection and at the same time the
coolant is replaced and the radiator is cleaned and bent fins due to stone hits
are straightened.
Time, Tools and Parts
This is a DIY task which requires accuracy as you will be dismantling parts of the
cooling system which operates at high temperature and high pressure. Failure may result
in a leaking cooling system.
A first timer may spend 3-5 hours on it, an experienced may do it in 1-2 hours.
Tools and Parts needed:
- Allen key (5 mm)
- screw drivers, flat and pz 1x75
- star-fork spanners
- top spanners
- tourque spanner
- a tweezer
- pointy tool (e.g. a tweezer)
- mirror
- lamp
- 3 liter bucket
- funnel width 30 cm hose
- string, plastic bag, rubber bands
- coolant (approximately 3 liters):
High quality ethylene glycol antifreeze containing corrosion protection
inhibitors.
I used Motorex Protect Ready which is ready for use as it is,
without further dilution.
- coolant drain plug sealing washer
- dish washing soap
- copper grease
Important: The Honda Shop Manual warns against using coolants with
silicate inhibitors as these may cause premature wear of water pump seals or
blockage of radiator passages. Using tap water instead of distilled water may
cause engine damage. The easiest thing to do is to buy coolant specifically
for bikes, and that is ready to use, i.e. already mixed. If you mix it
yourself, be sure to use distilled water and the mix ratio must be 1:1.
Important: Be sure to wash away any coolant spillage from the bike,
as this may damage painted surfaces.
Warning: Never open the radiator cap
while the engine is hot, as the pressure may be high and cause boiling
liquid to spray out and scald you!
Front Page - Other DIY Articles
Radiator Removal
1 Place the bike in upright position so you have easy access to both
sides and to the front. You may do the job using the side stand only, but upright
is easier, and if you can lift the bike, that will be even better.
2 Remove the middle cowl from both sides -
Details
3 Remove the radiator as described in the following:
3.1 Drain the coolant:
- Place a piece of red tape over the ignition key hole to remind you that the
engine may not be started. Remove the radiator cap (below left and right).
Warning: The engine temperature must be below 100 degrees C or you
risk severe scalding by ejected steam and boiling water!
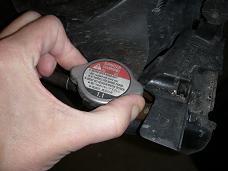
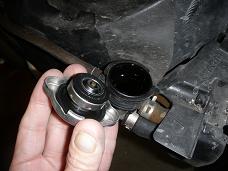
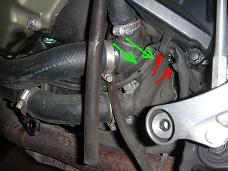
- Move the wires (green arrows, below left) off the plastic tabs (red arrows,
below left) and downwards to get easy access.
- Loosen the drain plug (below middle) and let all the coolant drain into a
suitable 3 liter container (below right):
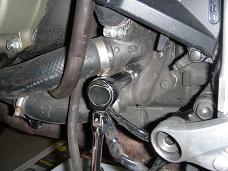
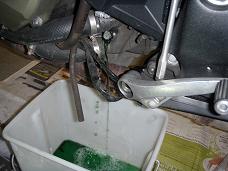
- Unscrew the drain plug and clean arround the hole.
- Reinstall the drain plug 12 Nm (1.2 kgfm, 9 lbfft) using a new cobber sealing
washer.
3.2 Detach connectors and hoses from the radiator:
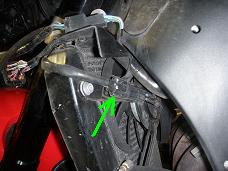
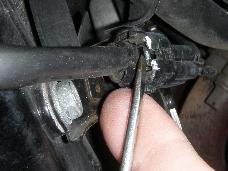
- Disconnect the 2-pin black connector to the left fan motor (below left). Use
e.g. a screw driver to release the connector as shown (below middle).
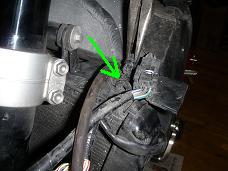
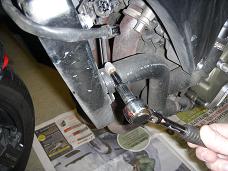
- Remove the trim clip holding the left heat guard plate onto the radiator
(below right).
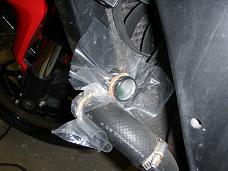
- Loosen the hose clamp screw and disconnect the left radiator hose (below left).
To keep dirt out and coolant inside, cover the holes using plastic and rubber
bands (below middle).
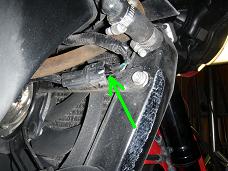
- Disconnect the 2-pin black connector to the right fan motor (below right).
- Loosen the hose clamp screw on the front end of the water hose (below left).
- Remove the trim clip holding the right heat guard plate onto the radiator
(below middle).
- Disconnect the water hose and cover the holes (below right).
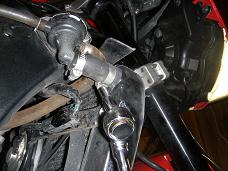
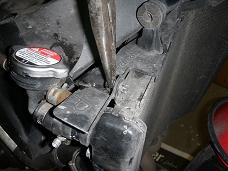
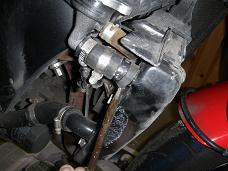
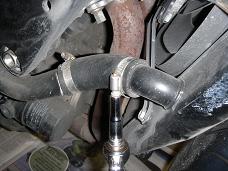
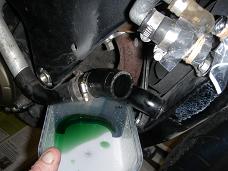
- Loosen the hose clamp screw on the right radiator hose (below left).
- Be ready for some coolant comming out when disconnecting the hose (below right).
3.3 Unmount the radiator:
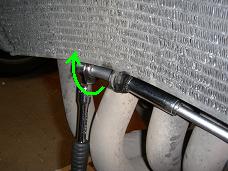
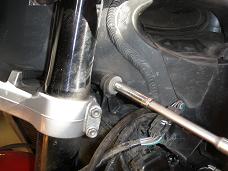
- Remove the bolt on the right side of the lower mount while holding contra on
the left side (below left).
- Gently let the radiator hang down from the upper mounts (below middle).
- Notice how the radiator hangs on the right side boss in a rubber grommet
(below right).
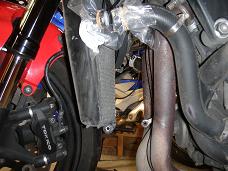
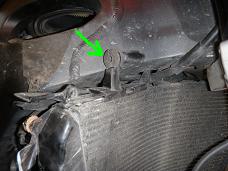
- Secure the right side of the radiator from falling down with a string.
- Remove the left side bolt and washer, while holding the radiator so it does
not fall down (below middle).
- Slide the radiator a little to the right and remove it from the bike (below
right).
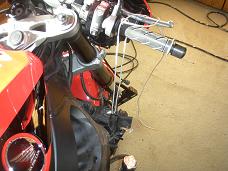
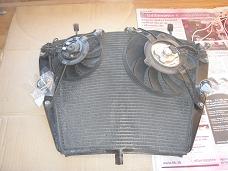
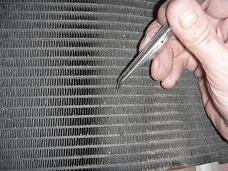
- Clean the radiator air passages with compressed air and/or water and
straighten bent fins. If more than 20 % of the radiator surface has been clogged
or damaged it must be replaced.
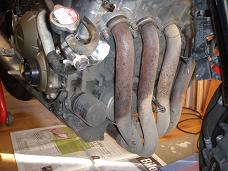
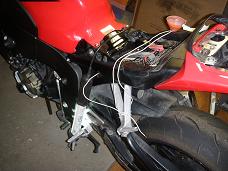
- The image below middle shows the engine with the radiator removed.
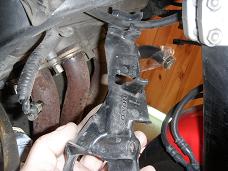
- Release the right heat guard plate from the clutch cable (below right).
4 Radiator Installation
Installation procedure is same as removal procedure in reversed order with
exceptions as described in the referenced DIY articles and here below.
4.1 Install the radiator: See 3.3. and 3.2 above. Be sure to
tighten the hose clamps sufficiently so they get tight.
4.2 Fill coolant into system:
- The bike must be placed in an upright position.
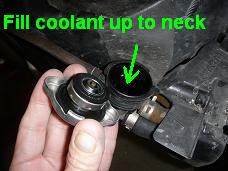
- Remove the radiator cap and fill coolant slowly to the filler neck
(below left). Squeeze the radiator hoses a couple of times to release
trapped air, refill as needed and reinstall the radiator cap.
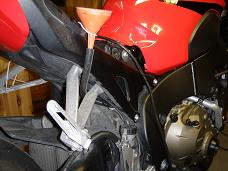
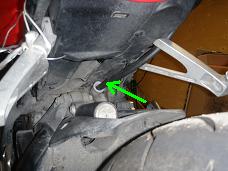
- Remove the radiator reserve tank cap, and using a funnel width 30 cm
hose, fill up to the top marking (below middle, right and further down).
Reinstall the cap.
4.3 Bleed and refill:
- Start the engine and let it idle for 2-3 minutes.
- Snap the throttle 3 to 5 times up to arround 5000 rpm to release
trapped air bubbles.
- Stop the engine and refill radiator and radiator reserve tank as
needed (see step 4.2 above). Make sure the caps are correctly reinstalled.
4.4 Pressure tests:
If you have the required tool, test that the radiator cap release pressure
is in the range 108-137 kPa (1.1 - 1.4 kg/cm2, 16 - 20 psi).
Also test that the radiator system is tight up to 110 kPa (do not
exceed 137 kPa as this can damage the system). The Honda Shop Manual says
that the system shall be able to hold the specified pressure for at least
6 seconds, but it does not actually tell what the specified pressure value
is, and it does not define exactly what "hold for 6 seconds" means (if
anyone knows more about this, please send me a mail about it).
4.5 Check the cooling system:
- Start the engine and let it idle for 2-3 minutes.
- Snap the throttle 3 to 5 times up to arround 5000 rpm.
- Increase throttle up to 2-3000 rpm and watch as the temperature in the
system rises, that the fan motors are started, first one and then the other
as the engine gets hot. On my bike the temperature reached arround 105
degree C before this happened. At that temperature the pressure in the
cooling system is quite high, so this is the time where you must inspect
all hose connections for possible coolant leaks. If you did not tighten
the hose clamps sufficiently this may cause leaking.
4.6 Reinstall the middle cowl on both sides -
Details
Finished.
Front Page - Other DIY Articles
You are invited to participate with review, questions and discussion via this
thread on www.fireblades.org
or this
thread on
www.1000rr.net.
See also:
How to DIY (warnings, tips, tools,
methods, ... etc.)
First Year
with my Fireblade
Superbikes on the Road: BMW S1000RR versus
Honda CBR1000RR Fireblade
Front Page - Other DIY Articles
© Copyright 2012 FireBladerDk 2012-04-08. Last update
2012-04-11


