This job is normally done as part of the valve clearance inspection.
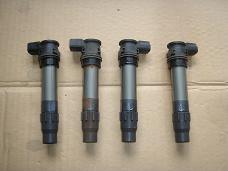
This Do It Yourself (DIY) article describes how to remove and reinstall the
Direct Ignition Coils and Spark Plugs on a 2008 CBR1000RR Honda Fireblade motorcycle.
This job is normally done as part of the
valve clearance inspection.

This is a reasonably easy DIY task. It involves many steps but none of them are dificult, so take your time and keep track of where you are in the process. A first timer may spend 5-9 hours on it, an experienced may do it in about 3 hours.
Tools and Parts needed:
Front Page - Other DIY Articles
1 Place the bike on the side stand or on a rear wheel lifter.
2 Lift the tank - Details
3 Remove the Air Cleaner Housing - Details
4 Remove the PAIR Control Solenoid Valve Details
5 Remove the Direct Ignition Coils:
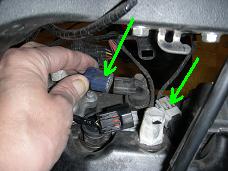
- Disconnect the CMP sensor 3 pin blue connector and the four direct ignition coil 2 pin
white connectors (below left).
Watch out for the brown rubber gaskets inside the connectors. They may come loose, fall out and
vanish if you are not carefull.
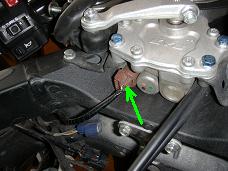
- Disconnect the 2 pin brown connector from the searing damper (below middle).
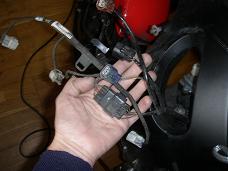
- Pull the harness out through the left air intake in the frame and let it hang there
(above right and below left).
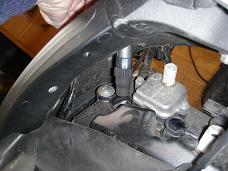
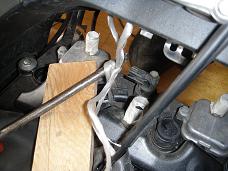
- Use a piece of string to lift each of the four direct ignition coils out. Notice which
directions of the connectors, so you can place the coils correctly on reassembly.
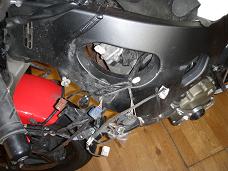
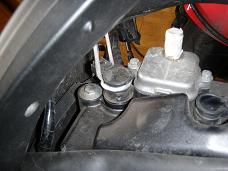
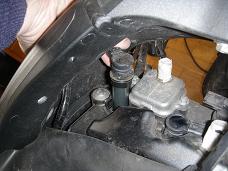
The coils are sitting quite tight in their holes, so quite some force is needed to
release them. Using a screw driver as a lever made it easier (below middle).

6 Remove the Spark Plugs:
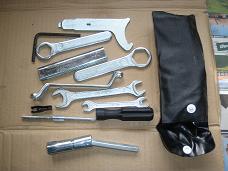
The tool kit (below left) which came with your Fireblade, contains a special spark plug
wrench that you must use for this job.
- Due to the tight fit of the direct ignition coils into their holes, there should not
be any dirt arround the spark plugs, but to be on the safe side, if you do have compressed
air available, use this to blow down into the bottom of each spark plug hole to blow
away any dirt which might be there.
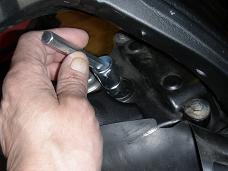
- Unscrew the four spark plugs (below middle and right, and be very carefull not to
damage the tips, as you may want to reuse the plugs. Replacement should be done every
48.000 km according to the Honda Shop Manual, so it is only on every second valve
clearance inspection that the plugs should need replacement.
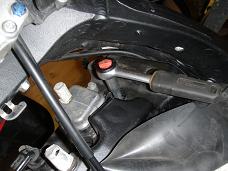
- OBS: Click on the right image above and notice how the
clutch cable is routed up between the frame and the valve cover. If you are on your
way to remove the valve cover, you shall make sure it is routed in the same way during
ressembly.
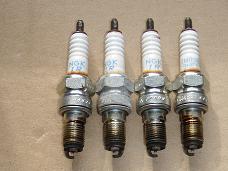
The spark plugs (below) can must likely be reused at the first valve clearance inspection
at 24.000 km, and should be replaced at the next inspection at 48.000 km. If you are in doubt,
then simply replace with new plugs at every valve clearance inspection.
Installation procedure is same as removal procedure in reversed order and with exceptions as described in the referenced DIY articles and here below.
1 - Inspect the spark plugs and replace as needed. Iridium plugs should be able to
stand 48.000 km (32.000 miles), so replacement is nominally every second valve clearance
inspection.
OBS: When inspecting the plugs, do not use a normal flat feeler gauge, as this may
damage the iridium center electrode. You should use a wire type (round) feeler to
check the gap. If a 1.0 mm diameter thread can pass through the gap, the plug must be
replaced with a new one. You should not try to adjust the gap in any case.
2 - Clean the spark plug threads, lubricate with a little copper grease and install them while making sure the threads engage corectly so you can turn the plugs several turns with finger force only.
3 - Tighten the spark plugs to 16 Nm (1.6 kgfm, 12 lbfft).
4 - Insert the ignition coils into the holes and press each one firmly onto the spark plug. You should hear 3-4 clicks when the coil contact slides onto the plugs thread. The connectors shall point in the directions shown on the below drawing.

5 - Pull the harness back over the engine throug the hole in left air intake in the
frame, and reconnect the 2 pin brown connector to the stearing damper and the four white
2 pin connectors to the ignition coils.
OBS: watch out for bent pins and do not use force. Check that the brown rubber seal is
still in place inside each connector.
6 - Reconnect the CMP (camshaft position sensor) 3 pin blue connector.
Finished.
You are invited to participate with review, questions and discussion via this thread on www.fireblades.org.
© Copyright 2012 FireBladerDk. Last update 2013-02-23.